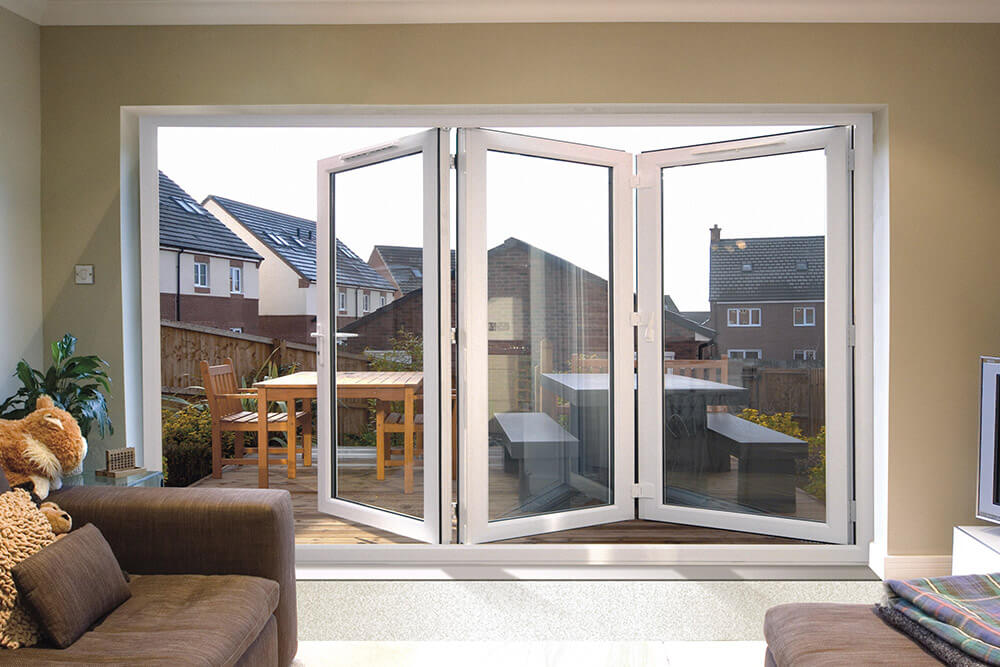
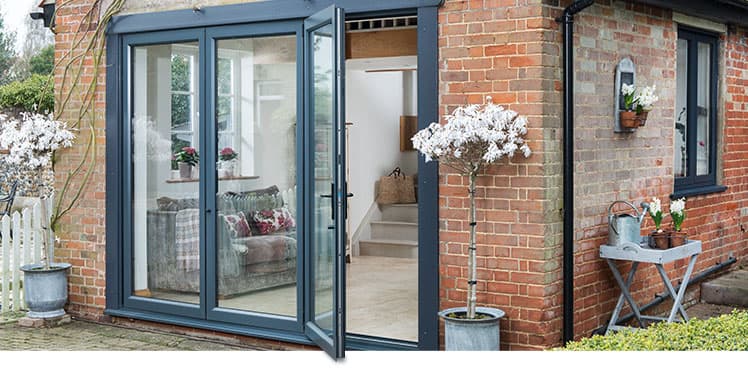
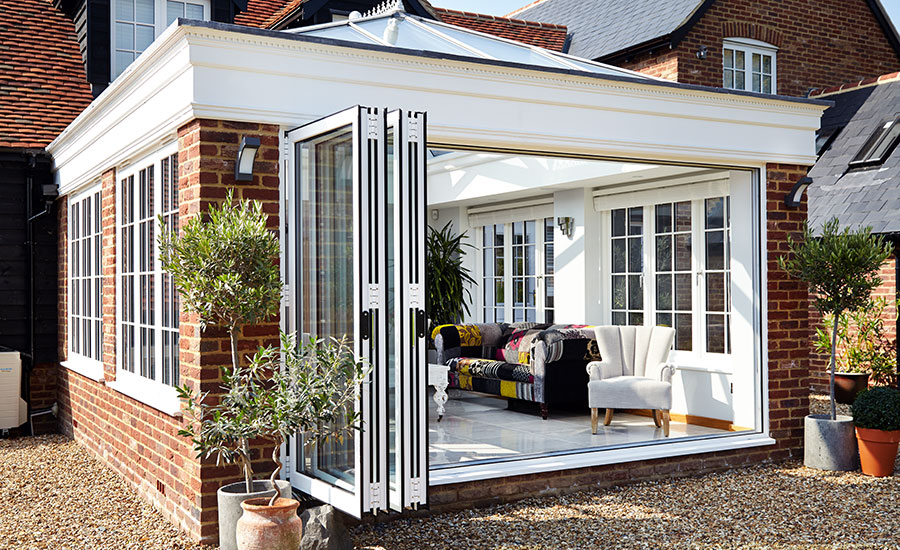
Would you like to visually separate two rooms and are looking for a space-saving solution? With a folding door without a pivoting range for the door leaf, you don’t waste any more space and you can also solve difficult room situations. We’ll show you how to install the folding door!

Select folding door
So that you can decide on the right folding door, you first measure the door opening. The clear dimension in height and width is important. With these measurements you can then determine which door is suitable.
For large door openings, the folding door must be widened compared to the standard size. To do this, we choose a model to supplement with additional slats. By the way: You can also mount folding doors on door openings without a frame.

Install the folding door
In addition to the slats, the main component of your new folding door are the different rails: running rail, lock rail and stop rail. We should cut to size the rails. The manufacturer’s installation instructions state how the exact dimensions for the rails and slats result from the dimensions of the door opening.
First saw the running rail. It is best to work with a miter box and a metal hacksaw. This enables precise sawing. Then saw the vertical rails for the door hinge and the lock side. You only have to shorten the slats if necessary.

Next, we screw the various gliders onto the slats. We should push them into the running rail later. First screw the initial gliders onto the lock profile. The angle gliders come on the half-slats these are the outer slats of the slat pack.
Now push the folding door together and secure the hinged gliders with screws at the top and the bottom of the slats.
Next, install the doorstop. To do this, fold the door to the package size. Measure the width of the package and transfer it to the upper runner. Use a clip as a drilling template at the marking. Pre-drill with 0.15 inch and remove the clip again. Then use a 0.23 inch drill to widen the hole. Now coat the side of the glider with the lubricant provided.
Now draw the markings for the fastening clips on the door opening. Because, the top rail carries the door load, several clips are required here. How exactly these are distributed is stated in the manufacturer’s installation instructions. Make sure that the clips are installed in a straight line so that the running rail can be attached. The two stop rails need a clip every 15.78 inch.


